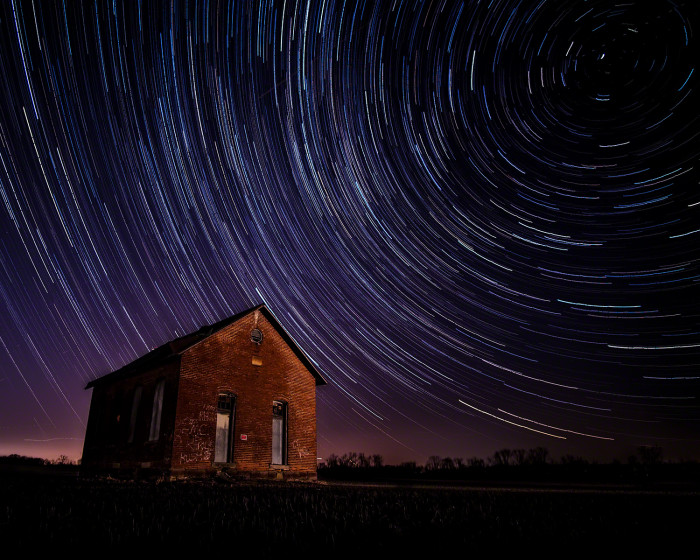
Astrophotography is much more appealing if you include an interesting foreground element. There’s an abandoned schoolhouse just 15 miles east of Columbus that sits under a surprisingly dark sky. On a clear moonless night I went to see if I could create a star trails photo there.
While the sky was dark enough to take some decent star photos, the location is very close to the Columbus airport and there were so many airplanes. Some of them even turned on the super bright headlights for landing. To create the final image, the planes had to be removed from each frame before all of the frames were combined.
Below is a video of the unedited photos I used to create the finished star trails image rendered as a time lapse video. Not only were there a lot of planes, but for a rural road there seem to be a lot of car traffic too.
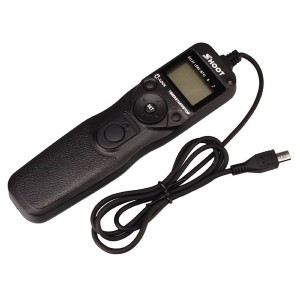
I took a few test shots to compose the schoolhouse with Polaris and eliminate as many lights as possible from the nearby farms. With the Rokinon 12mm lens set to f/2, I tested different ISO and shutter settings in ‘Manual’ mode until I got a good balance between visible stars and dark sky. For this particular scene I eneded up at ISO:100 and 25 seconds. This left the foreground very under exposed so I took an ISO:800 long exposure of the building that I planned to composite into the final shot. The ISO was reset to 100, the camera was set to continuous shooting and I plugged in a remote that has a shutter lock. Press the shutter button into the locked position and the camera takes exposure after exposure until you release the button, run of of memory or run out of battery.
After about 75 minutes a few clouds started to roll in so I called it quits. All of the RAW images were processed in Lightroom. First lens correction was applied then they were cropped. Contrast, vibrance, clarity and white point were all increased and exposure and black point were lowered. After syncing the development of all the images they were exported as layers to Photoshop. The plane trails were removed (mostly – I missed a couple) with the spot healing tool and cutting and pasting from one layer to another. Because of the light from the passing cars I didn’t need that extra long exposure shot I’d taken of the building. I used layer masks on the ground and building and only left a couple shots visible for the foreground. All the layers except the bottom one were set to ‘Lighten’ and then the image was flattened. A few color and contrast adjustments and it was finished.
Click images to enlarge. All photos are copyrighted and protected by Digimarc.

ISO:100 – f/2 – 12mm – 160 x 25 sec

