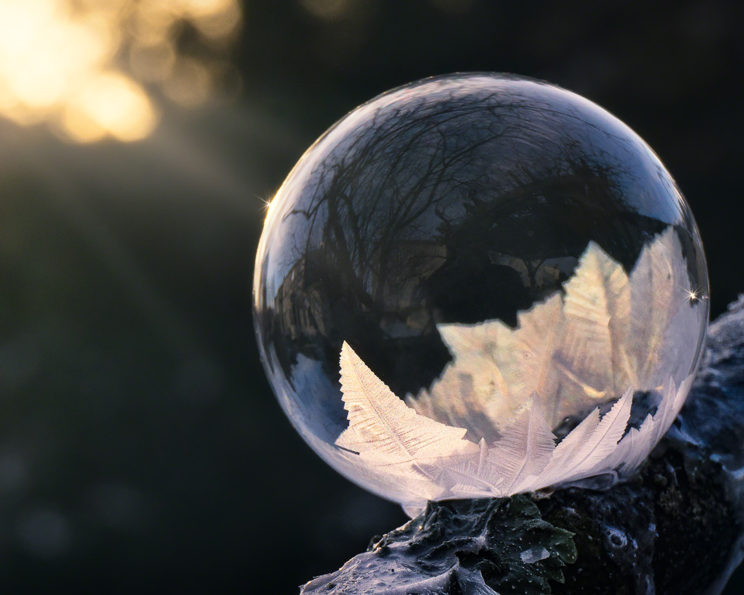
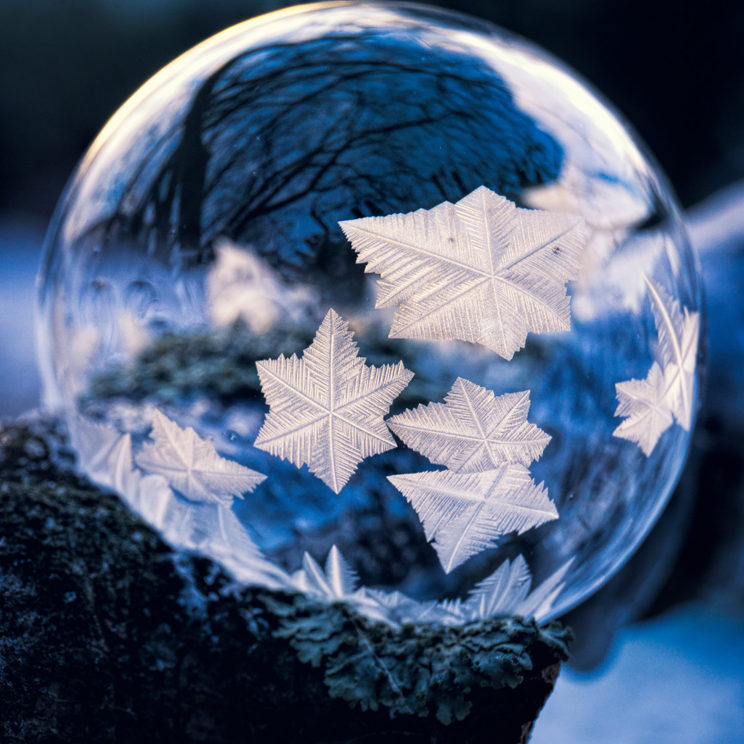
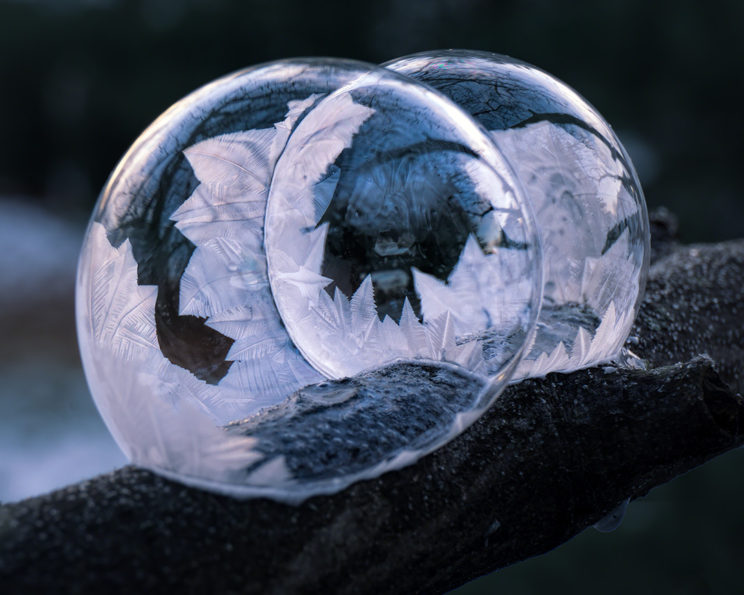
Ohio has remembered how to Winter and temperatures have dipped into the single digits Perfect for frozen soap bubbles! I’ll give you a bubble stuff recipe and some tips to help you create your own frozen bubble photos.

First the bubble stuff. You will need: 1 cup (230ml) of warm water, 2 Tbls. (30ml) of dish soap, 2 Tbls. (30ml) of corn syrup, 2 Tbls. of sugar, some straws, and a container. Mix everything together in the container. That’s it.
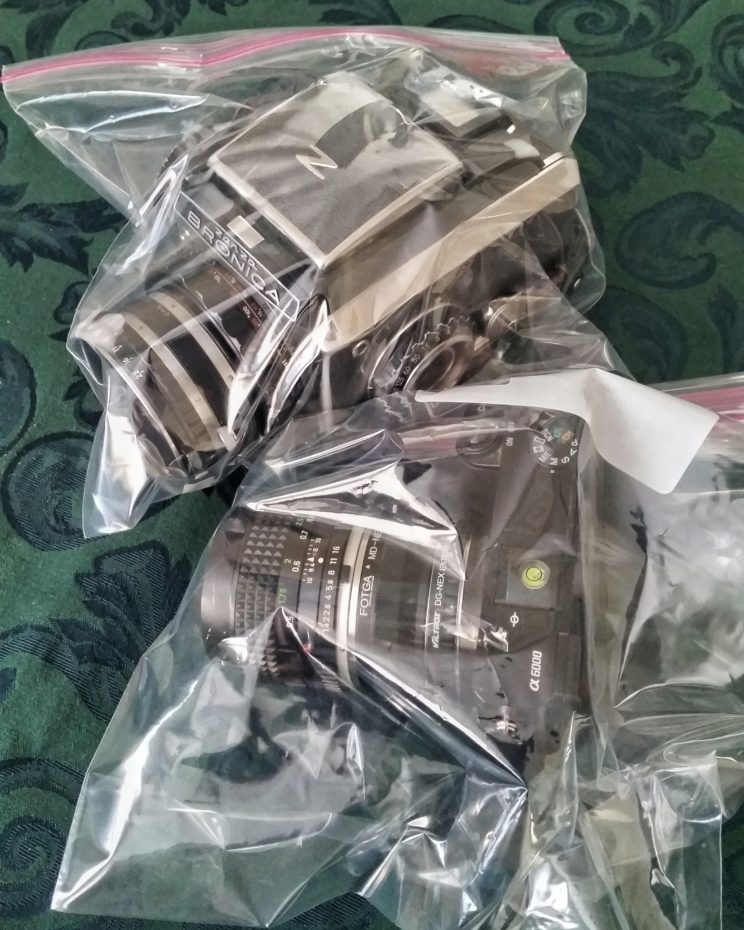
You do not need a bunch of fancy camera gear. You can take frozen bubble photos or video with a smart phone. A digital camera will make it easier to get really clear shots. If you want to fill the photo with a bubble then a macro lens or an inexpensive macro extension tube attached to a standard lens will be very helpful. Putting the camera on a tripod and either using a cable remote or the self timer function will also help you get nice clear, sharp shots. If you have an extra camera battery, take it out with you but keep it in a pants pocket. Cold zaps batteries pretty fast. If you only have one battery and the camera tells you it’s drained, turn off the camera, take the battery out and put it in a warm pocket for a few minutes. It will likely be resurrected when you put it back in the camera. If you’re shooting with a digital camera, take a 1 gallon zip top plastic bag out with you. When you’re ready to go back inside, put your camera in the bag and zip it closed. Let the camera warm up in the bag before you take it out. This will prevent condensation which can damage your camera.

Next you need the right weather. I’ve had the most success freezing bubbles when temperatures are between about 0° and 19°F (-18° and -7°C). Although the warmer it is, above about 15°F (-10°C) the less intense the freezing patterns seem to be. You also need calm air. Even slight breezes can pop the bubbles before they freeze. Right around sunrise is usually the calmest and it also gives you great light. If you can’t get out around sunrise, try to find a sheltered spot out of the wind.
Next pick a location. The freezing patterns show up best if the bubble is back or side lit. A pile of snow, a branch, an upside down drinking glass, almost anything that isn’t pointy will work. The further the background is behind the bubble, the more blurred it will be.
Once you’ve mixed up your bubble stuff, picked a spot and setup your camera, it’s time to blow a bubble. Dip a straw in the bubble mix, position the end about 1/2″ (1cm) above the surface and blow a bubble on to it. Start small, about 2″ (5cm) across. The larger the bubble, the more fragile it is. Slowly pull the straw away. There’s a video on my Instagram feed, @sherrill_photo that shows a closeup of a bubble being blown. If you’re having trouble, try blowing them onto a smooth surface like a plate or glass. You’ll get hemispheres instead of full bubbles, but they’re easier. If you blow several bubbles in a row in the same spot, rub it down a little to make sure the sharp pieces of a popped bubble don’t pop the next. The colder your bubble mix gets, the faster the bubbles will freeze. If your mix gets slushy or the bubbles are freezing too fast to get a photo, you can take it in and microwave it for 30 seconds to warm it back up again.

If you post process your shots in Photoshop, adding Clarity and Dehazing in the Camera Raw Filter can really help the freeze patterns pop… uh, stand out. Adding a vignette and a little Unsharp Mask (but not too much) helps too. If you edit on your phone and your app (like Snapseed) has it, Tonal Contrast, a little sharpening, and vignette. If you edit in Instagram then Structure and Vignette. Yes, I really like vignetting, but it’s completely optional if you’re not a fan.
That’s all there is to it. Go out and experiment! Add aluminum foil in the background, blow multiple bubbles, add colored lights, try one of those big bubble-tea straws, have fun!
